I've been working in a huge load of superhero characters lately . Today I'd like to show you my amigurumis inspired by the Avengers.
Disclaimer: This is going to be a long post with lots of pics!

CAPTAIN AMERICA
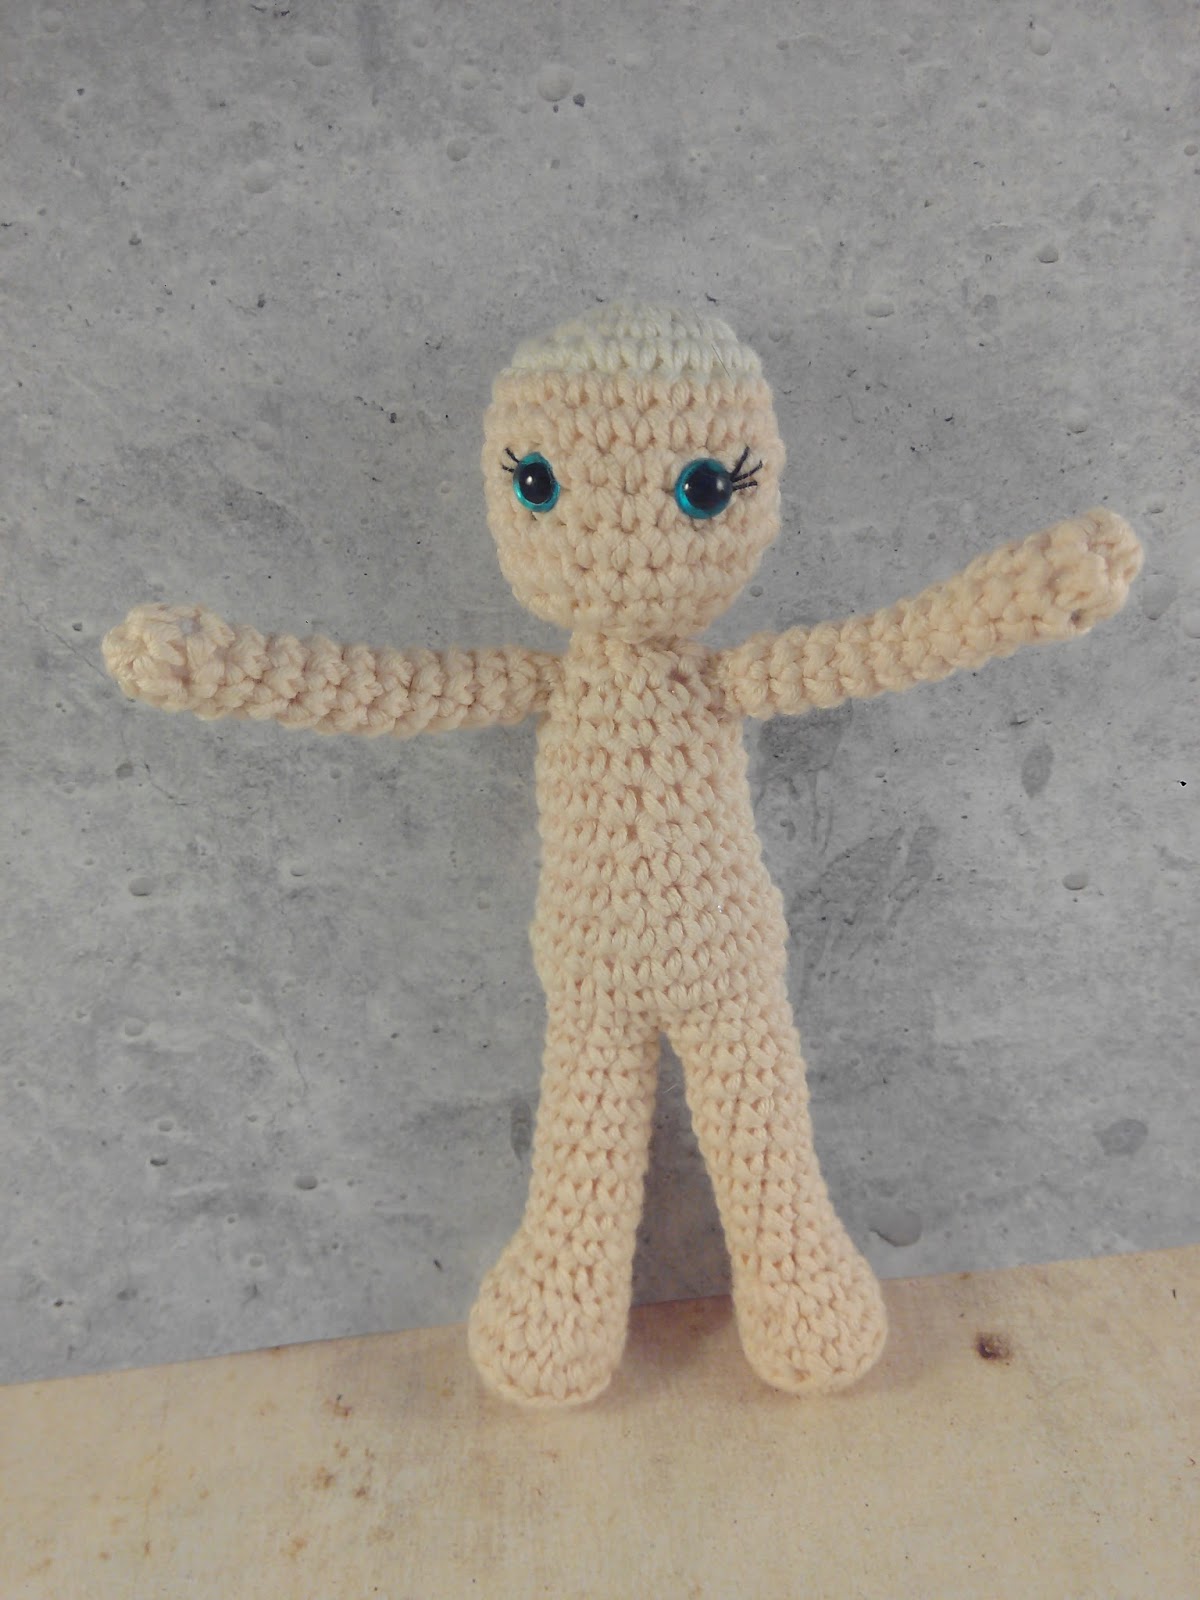
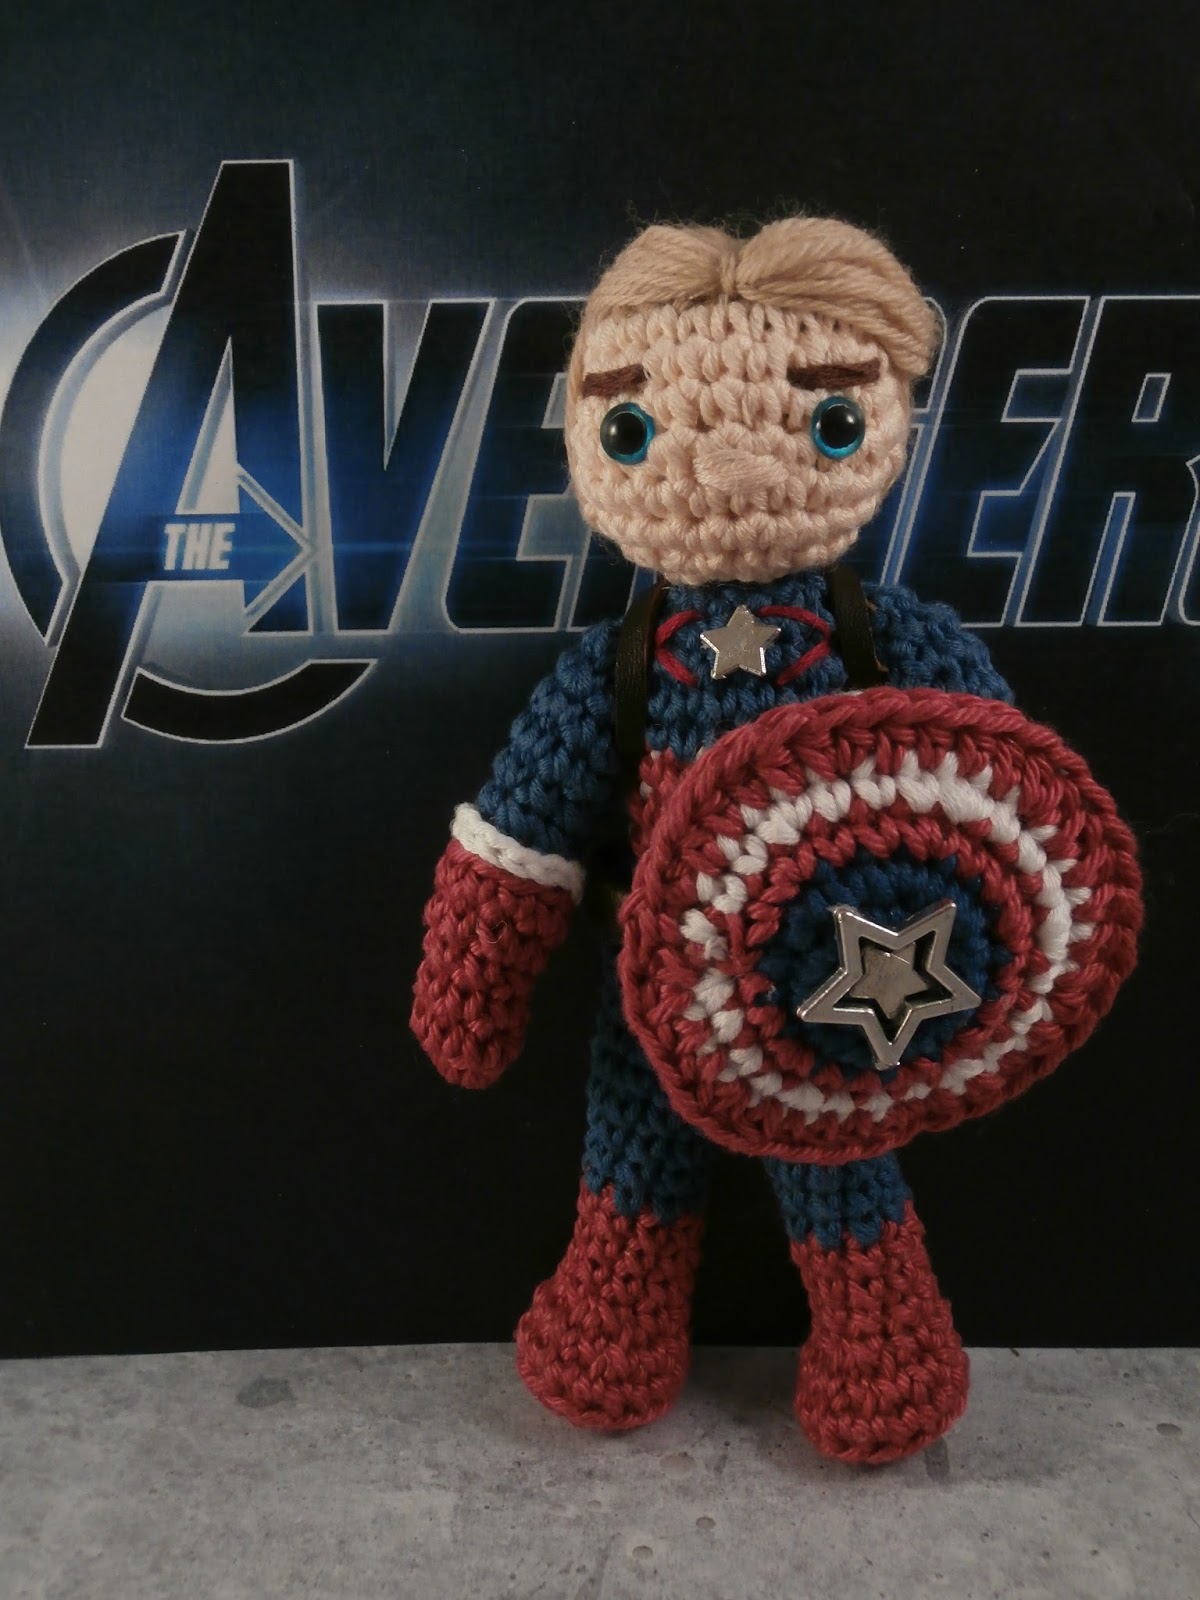
Steve Rogers, arguably the leader of the Avengers, is also one of my favorites. I decided to make him without the helmet. The haircut I gave him is based on the more classic one he wears in The First Avengers .... I'm thinking about updating it a bit, though
The shield I made him is removable, but I forgot to take photos of him without it.
  |
Just a kid from Brooklyn  |


IRON MAN
Tony Stark, audiences' favorite. This doll took me a while because of the composition of the metallic color yarn ( 46% viscose). It looks really pretty, but it was a pain to work with. It is also too flexible, so the helmet doesn't look as stiff as I wanted.
The helmet, by the way, is removable because I wanted Tony's face to be visible. I'm not really happy with his hair either, and I will probably change it and give it more volume (as Robert Downey Jr wears it in the film)


THOR


 |
| En su Asgard natal |
HULK
The greener alter ego of poor Bruce Banner. I tried really hard for him to be taller and bigger than the rest... I added a few rounds more to his legs and torso... but it is not so big after all :(
Also, he was supposed to look angrier... but I think he ended up looking too adorable and cute.
Maybe these are Mark Ruffalo's traits that rubs on him.... And since they are trying to give the Hulk a more sensitive side in the movies... why not in a doll?
Btw, I'm a huge fan of Mark Ruffalo and I'm really happy with him being cast as Banner/Hulk


VIUDA NEGRA (BLACK WIDOW)
Natasha Romanoff, S.H.I.E.L.D's more efficient spy and professional badass. I was not very interested in her story at first but character is starting to grow on me after every movie. Although she looks different in every movie, I decided to give her a short curly hair. She's carrying two guns to make her look the badass girl she is in the movies and not just the sexy one or the girl in the group.
I made a mistake with her eyes... I used blue safety eyes but I realized later that Scarlett Johansson has green eyes... oops
Also,although it is not visible in these photos, she sports the S.H.I.E.L.D logo in both her shoulders .


OJO DE HALCÓN (HAWKEYE)
Clint Barton, S.H.I.E.L.D agent . Or so we think because.... can anybody tell me where was he during the agency crisis in CA: the Winter Soldier?. He is probably the less impressive hero of the group but I think he's as funny as Jeremy Renner is.


NICK FURY
Director of S.H.I.E.L.D and played by the omnipresent God of Geeks Samuel L. Jackson. I had real fun making this character and giving him details such as the eye patch and the leather coat.


These are the agents of S.H.I.E.L.D before the Agents de S.H.I.E.L.D TV show (from which I'm already working in some of the characters, Coulson included, of course.)

LOKI
And of course, the fan favorite villain should not be left out: Loki, God of Mischief.
I like Loki and I love Tom Hiddlestone, so I can assure you that I had a great time making this doll. It is also the one I'm most proud of of the lot.
The helmet has the same problem as Iron Man's, the yarn was to soft and shapeless. But taking into account that the helmet has a difficult shape to reproduce, I'm quite satisfied on how it turned out.


To finish with, let me show you the fun I have always taking pictures. I have a Mjolnir keychain and I thought that it could be fun to reproduce the scene in Avengers:Age of Ultron in which the Avengers are having fun at a party and they try to lift Thor's hammer. Apparently nobody can do it but Steve's try gives Thore a scare:


This scene is super funny and you can watch it here:
And finally... allow me this terrible joke I though of while making the dolls:
Avengers.... Assemble!

What do you think? How do you like them?